
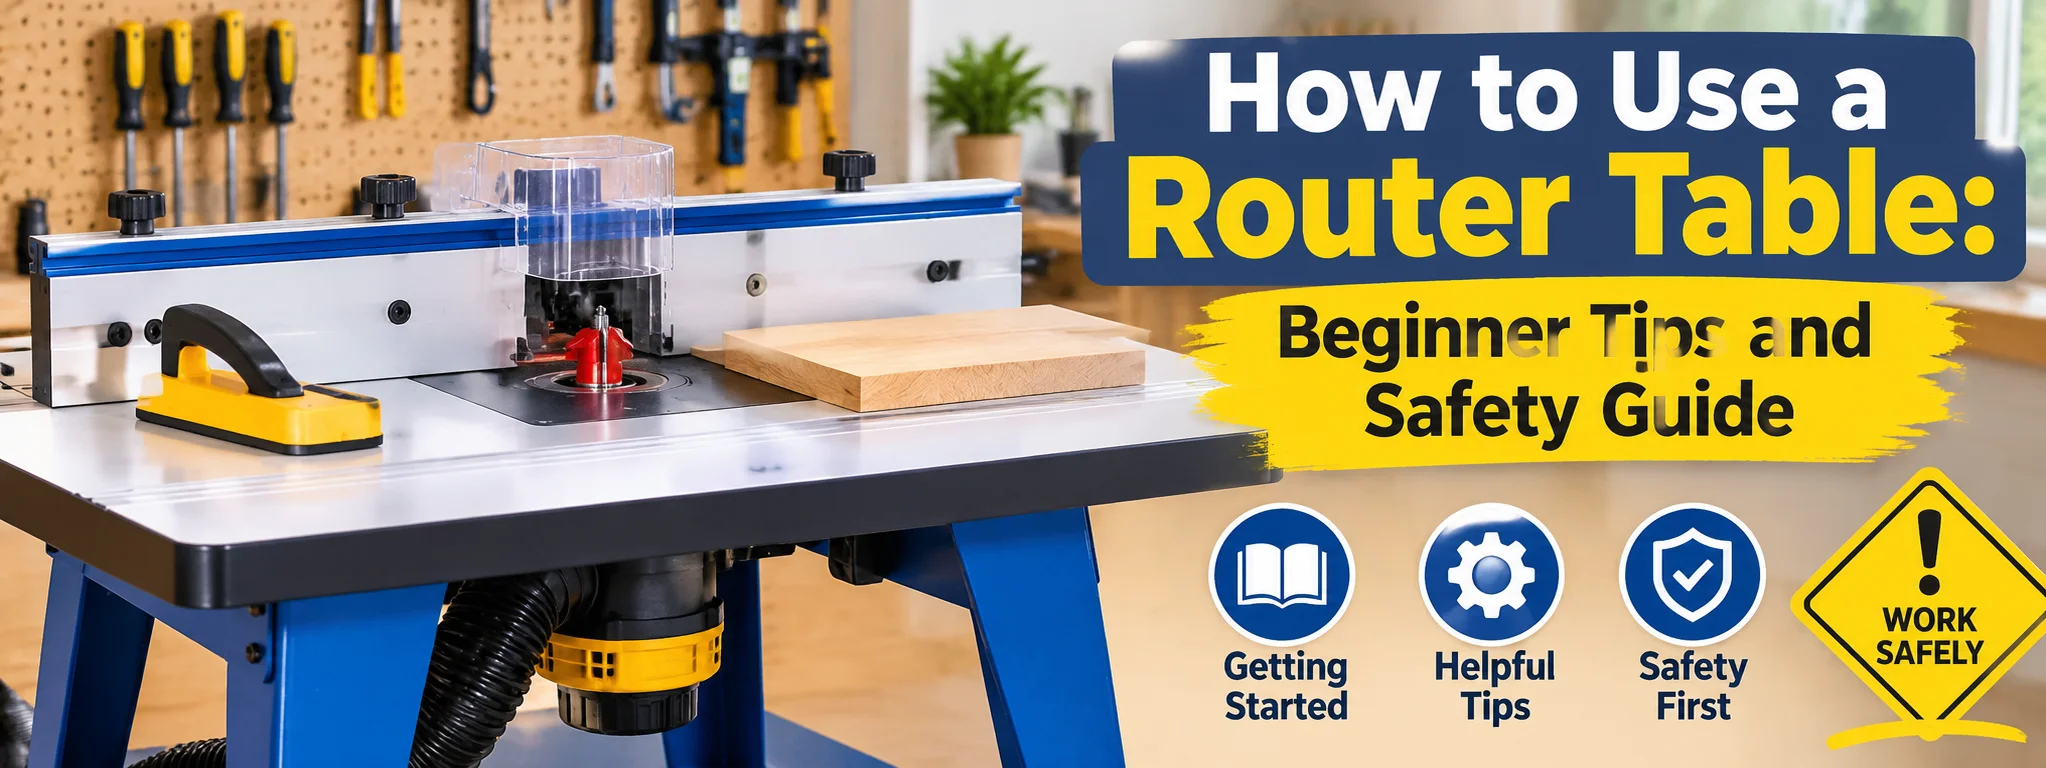
A router table is a valuable woodworking tool that helps create smooth edges, accurate grooves, decorative designs, and professional-looking joints. Whether you are making furniture, building cabinets, shaping wooden panels, or working on DIY projects, learning how to use a router table can improve the accuracy and quality of your work.
Unlike handheld routing, a router table holds the router underneath a flat working surface. This arrangement allows you to guide wooden pieces across the cutting bit while keeping the material supported. It is particularly useful for producing consistent cuts and repeating the same profile on multiple pieces of wood.
Understanding the Main Parts of a Router Table
Before learning how to operate the machine, it is important to understand its main components. Each part has a specific function that contributes to cutting accuracy and workpiece stability.
Router Table Surface
The tabletop provides a smooth, level area where you place and guide wooden materials. Most models feature a flat surface made from laminated material, metal, or another durable construction.
A properly leveled tabletop helps prevent the wood from tilting during operation. Check the surface regularly for damage, debris, or uneven areas that could affect your results.
Router and Insert Plate
The router is mounted underneath the table, allowing its cutting bit to extend through an opening in the tabletop. An insert plate supports the router and provides access for changing bits and making adjustments.
The plate should sit evenly with the surrounding surface. Any noticeable height difference can interfere with workpiece movement.
Router Bits
Router bits are interchangeable cutting accessories that determine the shape and style of your finished work.
Common options include:
-
Straight bits for grooves and channels.
-
Round-over bits for rounded edges.
-
Chamfer bits for angled profiles.
-
Cove bits for decorative curves.
-
Rabbeting bits for recessed edges and joints.
Always select a compatible bit that matches the material and intended woodworking operation.
Fence and Safety Accessories
The fence provides a guiding reference for the workpiece. It helps maintain consistent positioning and supports straight routing operations.
Other accessories, such as featherboards, guards, and push blocks, help maintain workpiece control. Use accessories specifically designed for the operation and follow their instructions.
Tools and Materials Needed for Router Table Projects
Preparing your equipment before starting makes woodworking more organized and reduces interruptions.
Here are some useful items to have available:
-
Router table: A stable table with a securely mounted, compatible router.
-
Router bits: Sharp and suitable cutting accessories for different profiles.
-
Measuring equipment: A measuring tape, ruler, square, and depth gauge.
-
Push blocks: Appropriate devices for controlling workpieces while keeping hands away from the cutter.
-
Protective equipment: Safety glasses, hearing protection, and suitable respiratory protection.
-
Dust collection system: Equipment for removing wood particles from the working area.
-
Scrap wood: Extra material for checking settings before working on the finished piece.
Using the correct accessories makes it easier to achieve consistent results and maintain control during woodworking.
How to Use a Router Table for Woodworking Projects
Operating a router table involves several preparation and working stages. Understanding each stage helps beginners avoid common problems and improve their results.
Step 1: Prepare the Working Area
Begin by placing the router table on a stable and level surface. Make sure the surrounding area has enough room for the wood to move without hitting other objects.
Inspect the tabletop, router mounting system, insert plate, and fence. Check that all components are properly secured and that there are no visible signs of damage.
Remove loose materials, tools, and unnecessary objects from the table. If a dust extraction system is available, prepare it according to the manufacturer’s instructions.
Keep the router disconnected from electricity while inspecting the machine and making adjustments.
Step 2: Choose the Appropriate Router Bit
Selecting the correct cutting accessory is essential for achieving the desired shape.
A straight bit is suitable for making channels and grooves, while a round-over bit produces smooth, curved edges. Other profiles can be used for decorative details and specific woodworking joints.
Before installing a bit, check its compatibility with the router. Pay attention to the shank size, recommended operating speed, and cutting capacity.
Disconnect the router from its power source before changing accessories. Follow the manufacturer’s instructions for installing and tightening the bit.
Make sure the cutter is properly secured and has sufficient shank engagement. Never use a cracked, bent, or damaged router bit.
Step 3: Set the Cutting Height
The height of the router bit determines the depth and shape of the cut.
For example, a small adjustment may be enough to create a decorative edge, while a deeper setting may be needed for a groove or recessed profile.
Use the router’s adjustment mechanism to establish the required height. Check the measurement with a suitable measuring tool.
Make adjustments only when the machine is disconnected from power. For deeper cuts, consider using multiple controlled passes when appropriate instead of removing excessive material in one operation.
Step 4: Adjust the Router Table Fence
The fence helps guide the wood and maintain consistent cutting dimensions.
Position it according to the requirements of your project. Check that it is properly aligned and securely locked before beginning.
A straightedge can help verify alignment when necessary. If your router table has an adjustable split fence, follow the manufacturer’s instructions for positioning its sections.
The fence opening should provide suitable clearance around the cutter. Make sure the guard is correctly positioned and that the workpiece has adequate support.
Step 5: Test the Settings on Scrap Wood
Testing is an important part of woodworking because even small setup errors can affect the finished result.
Use a spare piece of wood with similar characteristics to your actual project material. Check whether the cutting height and fence position produce the required dimensions.
After completing all safety checks, reconnect the router and operate it according to the manufacturer’s instructions. Allow it to reach its normal operating speed before beginning the test.
Inspect the result for rough edges, burning, uneven depth, or other imperfections.
If changes are necessary, switch off the machine and disconnect power. Wait until the cutter has completely stopped before making adjustments.
Step 6: Feed the Workpiece Properly
Correct feeding direction is important when working with a conventional router table.
When viewed from the operator’s position at the front of a standard router table, the usual feed direction is from right to left. This allows the cutter to work against the direction of workpiece movement.
Keep the wood properly supported against the table and fence. Use suitable push devices and guards to maintain control, especially when working with narrow materials.
Move the workpiece smoothly without forcing it through the cutter. Avoid climb cutting and any operation that could cause the machine to pull the material unexpectedly.
Step 7: Finish and Examine the Routed Piece
Once the routing operation is complete, switch off the machine and wait for the bit to stop moving.
Disconnect the power before removing accumulated offcuts or inspecting the cutting area.
Examine the finished wood for consistent dimensions, clean edges, and a smooth surface. If the result needs improvement, review the settings and determine whether another controlled pass is appropriate.
Remove dust and debris from the working area before storing the equipment.
Common Router Bits and Their Applications
Understanding different router bit styles makes it easier to select the right accessory for each project.
| Router Bit | Main Function | Common Woodworking Use |
|---|---|---|
| Straight bit | Creates straight cuts | Grooves and channels |
| Round-over bit | Produces rounded edges | Furniture and tabletops |
| Chamfer bit | Creates angled edges | Frames and trim |
| Rabbeting bit | Cuts recessed edges | Cabinets and joints |
| Flush-trim bit | Follows a template edge | Pattern-based projects |
| Cove bit | Creates curved profiles | Decorative molding |
The final result depends on selecting a suitable cutter, using compatible equipment, and following the recommended operating limits.
Helpful Router Table Techniques for Better Results
After understanding the basic setup, you can improve your woodworking through consistent techniques and careful material handling.
Use Controlled Cutting Passes
Removing too much wood at once can place unnecessary strain on the router and produce rough results.
For suitable operations, divide deeper cuts into smaller stages. This approach can improve cutting consistency and reduce excessive material removal.
Remember to disconnect power before changing the bit height or adjusting other machine settings.
Keep the Workpiece Properly Supported
Long boards can become difficult to control without additional support. Suitable infeed and outfeed supports help maintain a level working position.
Narrow pieces also require special attention. Use appropriate guards and push devices rather than attempting to control small materials with your fingers close to the cutter.
Consider the Wood Grain
Grain direction affects the appearance of routed surfaces. Some wood species and grain patterns are more likely to produce rough edges or tear-out.
Test your chosen approach on spare material before working on the final piece. Take appropriate light passes and inspect the surface regularly.
Maintain Consistent Movement
A smooth and controlled feed helps produce cleaner results.
Moving too slowly may create heat and burning, while excessive feeding speed can lead to rough cuts and inconsistent profiles.
Choose a suitable feed rate for the material and cutting operation. If unusual vibration, burning, or resistance occurs, stop the machine and investigate the problem.
Important Router Table Safety Guidelines
Router tables contain fast-moving cutting components, so safe operating habits should always come before productivity.
Follow these five important practices:
-
Disconnect the power before adjustments: Always unplug the router before changing bits, adjusting the fence, or modifying the cutting height.
-
Use suitable safety accessories: Guards, push blocks, and featherboards can help maintain proper control when correctly positioned.
-
Wear protective equipment: Use eye and hearing protection, along with suitable respiratory protection when required.
-
Check the machine before operation: Inspect the bit, fence, router mounting, electrical connections, and other important components.
-
Avoid rushing: Never force wood through the cutter or continue working when the material becomes difficult to control.
Keep loose clothing and jewelry away from moving machinery. Maintain a clean working area and make sure children and other bystanders remain away from the operating equipment.
Common Router Table Mistakes Beginners Should Avoid
Learning to identify common mistakes can help improve the quality of your work and reduce unnecessary equipment problems.
Selecting an Incorrect Router Speed
Different router bits have different speed requirements. Large-diameter cutters generally require lower operating speeds than smaller cutters.
Always check the speed recommendations supplied by the router and bit manufacturers. Never exceed the permitted operating limit.
Working Without a Test Piece
Skipping test cuts can result in incorrect dimensions, rough profiles, and damaged project materials.
Use spare wood to evaluate the setup before processing the final workpiece. This simple preparation can prevent avoidable mistakes.
Using Worn Cutting Accessories
Dull or damaged bits can create uneven surfaces, burning, and excessive strain on the equipment.
Inspect cutting accessories before use. Replace damaged bits and maintain suitable cutters according to the manufacturer’s recommendations.
Failing to Secure the Fence
A loose fence can move during operation and affect the accuracy of the cut.
Check the fence position and locking mechanism before every project. Never assume it is secure simply because it appears correctly positioned.
Making Adjustments During Operation
Changing settings while the cutter is rotating creates unnecessary risks.
Always turn off the router, wait until the bit stops completely, and disconnect the power before making adjustments or removing debris.
Maintaining Your Router Table for Long-Term Performance
Regular maintenance keeps the equipment in good working condition and supports consistent woodworking results.
After completing a project, disconnect the router and remove accumulated dust from the tabletop, fence, and accessible components.
Check the insert plate for proper alignment and inspect the mounting hardware for signs of loosening. Keep the tabletop clean and free from substances that could interfere with smooth material movement.
Router bits should also receive regular attention. Remove accumulated resin using an appropriate cleaning product and follow the manufacturer’s care instructions.
Store cutters in a protective case or holder to prevent damage. Inspect the power cord, switch, guards, and adjustment mechanisms periodically.
If the router develops unusual vibration, excessive noise, or operating problems, stop using it and arrange appropriate inspection or servicing.
Frequently Asked Questions
1. Is a router table easy for beginners to use?
A router table can be suitable for beginners who learn its basic components and safety procedures first. Start with simple woodworking tasks, practice on scrap wood, and follow the equipment manufacturer’s instructions.
2. What is the best router bit for beginners?
Straight bits and round-over bits are useful starting options because they support common woodworking applications. The right choice depends on the type of cut required.
3. What direction should wood move through a router table?
For a conventional router table viewed from the front, wood is generally fed from right to left. Always confirm the correct direction for your specific equipment.
4. Can a router table cut hardwood?
Yes. A compatible router and suitable sharp bit can be used for hardwood projects. Proper speed selection, material support, and controlled cutting passes are important.
5. How do I get smooth edges with a router table?
Use a sharp, clean bit, check the fence alignment, and maintain a consistent feed rate. Testing the setup on scrap material can also help identify problems before working on your finished project.
Final Thoughts
Understanding how to use a router table can open up many possibilities for furniture making, cabinet construction, decorative woodworking, and home improvement projects. The machine allows you to create consistent edges, grooves, and profiles when it is correctly set up and operated.
Start by learning the different components, selecting compatible router bits, and adjusting the fence and cutting height carefully. Practice with spare wood before moving on to important materials, and maintain proper control throughout every operation.
1 thought on “How to Use a Router Table: Beginner Tips and Safety Guide”